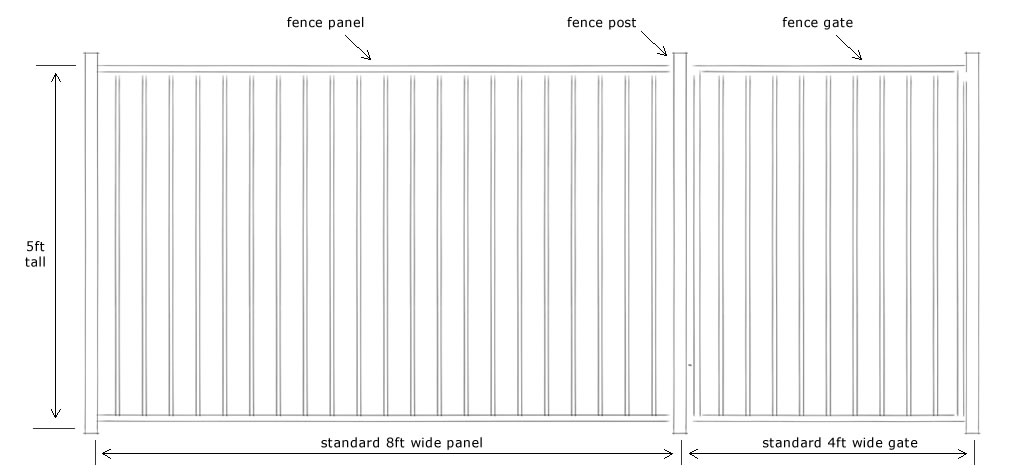
There are a number of components which come together to complete an iron pool fence project. Some of these components are easily visible when the job is done, others are harder to see – but play an important role nonetheless. If you want to make sure your wrought iron pool fence is installed correctly from start to finish, you will need to have working knowledge of all various components.
One obvious component that cannot be overlooked is the metal fence posts. These make up an important part of the structure of your pool fence. You will also need to think about the iron safety fence panels, the wrought iron pool gate that allows for easy entry and exit to and from the pool, as well as other small parts like caps, bushings, and so on. If you are not going to install the pool fence yourself, you won’t need to have such a detailed grasp on the way these items are constructed. However, it is still a good idea to have a basic understanding of the product so you can watch for problems and check the quality of the work after it has been completed.
A decorative iron fence for pool is one of the nicest looking features you can add to your backyard landscape. Of course, this is not a feature which is only about looks – it will also offer added security to your property when the pool is not supposed to be in use. Some people prefer the look of a mesh pool fence over the iron option, but that is a matter of personal preference. If you feel that an iron pool fence is the right look for your needs, make sure it is installed correctly – with all of the necessary components – and you can look forward to many years of reliable performance. Wrought iron provides an elegant, permanent option for homeowners looking for a long-term fencing solution. However, before investigating further, it is helpful to understand the individual components you will deal with when installing an iron fence. There are three primary elements to discern: the panel, the post, and the gate.
Fence Panel
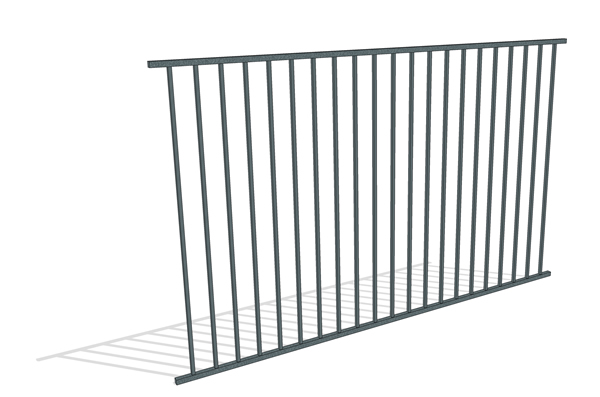
As the primary component of an iron safety fence, panels include all the important hardware between each fence post. Altogether, the panels are what form the bulk of your fence. To create one, each safety fence panel begins with a top and bottom rail, typically made from square tubing, 1″ per side. These rails act as the anchors for the pickets, the vertical bars that create the barrier portion of your fence. Pickets are commonly between 1/2 inch to 5/8 inch in diameter and be made from square tubing similar to the rails.
With pickets spaced about 4 inches apart along the fence panel, welds affix each one to both the top and bottom railings, keeping everything sturdy and completing the unit. A standard panel usually contains about 20 pickets apiece for an overall length of 8 feet. The full height of a finished iron safety fence panel mostly tops out at 5 feet, though 4-foot panels aren’t uncommon either. Local building codes tend to dictate the height required, so your experience may vary. Finally, at either end of a fence panel is a post.
Fence Post
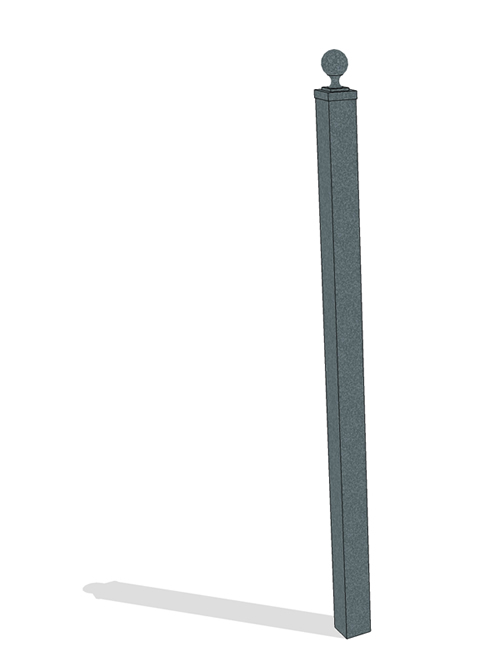
Not merely the component for joining panels together, metal fence posts are also the primary anchors for any installation. By acting as a fence’s “feet,” posts provide stability and security necessary to keep the panels firmly in place. Their height can vary to accommodate whichever panel height you’ve chosen. Matching the post to the panel is essential. These components rely on 2″ square tubing and are visually distinct from the panels. To anchor iron safety fence panels to their corresponding posts, special hardware called a “sleeve,” or a “bracket” attaches the top and bottom rails to the post. Then they’re permanently attached using either screws or a weld.
Metal fence posts break down into two categories based on the method used for affixing them to the ground. Platted posts, for example, are the preferred option for protecting pools surrounded by a solid surface such as concrete. These posts have a steel plate welded to their bottom, and it is this plate that is then anchored using four durable bolts.
“Dirt” posts follow their namesake and are the best option for bare ground. Before installation, dig a hole of approximately 12-18 inches with a diameter of 12 inches for each post in the fence. Then lower the fence post into position. Filling the hole with concrete permanently anchors the post to the ground.
Finally, a “post cap” is sometimes necessary to both improve the post’s visual aesthetics while preventing debris and rainwater from entering the hollow interior. Water infiltration can quickly trigger rust to start developing inside the iron fence post. Therefore, caps provide a straightforward way to avoid the issue.
Fence Gate
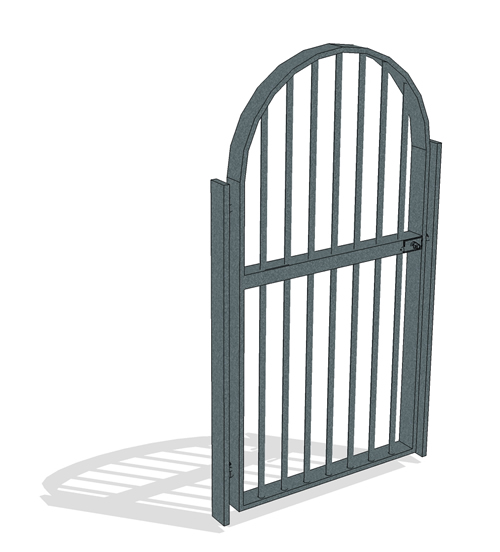
Finally, the gate is a crucial part of any fence. Without one, there is obviously no way to access the pool area you’ve secured. A wrought iron pool gate will be 4 to 5 feet wide and made to match the height of its surrounding fence. To maintain uniformity, iron gates feature the same design as the fence’s panels with many of the same dimensions: 1-inch square railings, pickets sized according to the fence, and a 4-inch spacing.
Additionally, each gate must feature mechanisms for self-closing and self-latching. These essential security features ensure the iron pool gate cannot be left unlatched accidentally, nor is unauthorized access easy to gain. A self-closing / self-latching pool gate is a vital child safety precaution.
Altogether, these components make up iron fences found in homes all around the country. With a basic understanding in place, it is easier to determine what you’ll need to complete a project successfully.
